Welcome to Cangzhou Yisu Plastic Packaging Co., Ltd. official website!


Step-by-Step Guide to Installing a Cabinet Centrifugal Fan

Installing a cabinet centrifugal fan is a task that requires careful planning, the right tools, and a clear understanding of the steps involved. Whether you are replacing an old fan or installing a new one, this guide will walk you through the process step by step.
Understanding the Cabinet Centrifugal Fan
Before diving into the installation process, it’s important to understand what a cabinet centrifugal fan is and how it works. These fans are designed to move air or gases in a specific direction, making them ideal for applications requiring high airflow and pressure. They are commonly used in HVAC systems, industrial processes, and various ventilation applications.
Tools and Materials Needed
Before starting the installation, gather the following tools and materials:
1. Cabinet centrifugal fan
2. Screwdriver set (flathead and Phillips)
3. Wrench set
4. Duct tape
5. Electrical wiring and connectors
6. Safety goggles
7. Gloves
8. Mounting brackets (if not included with the fan)
9. Level
10. Measuring tape
Step 1: Safety First
Safety is paramount when installing any electrical equipment. Start by disconnecting power to the area where you will be working. Wear safety goggles and gloves to protect yourself from any debris or sharp edges.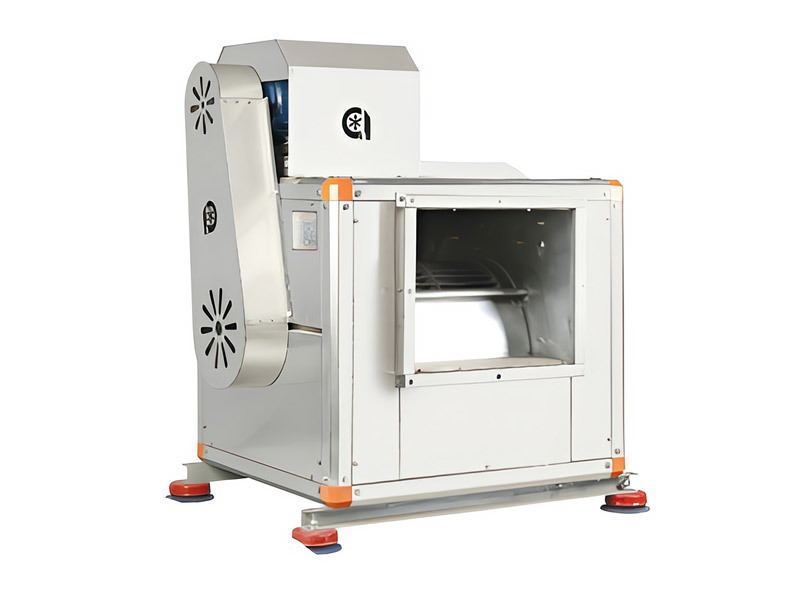
Step 2: Choose the Right Location
Select an appropriate location for the fan. It should be close to the area needing ventilation but away from direct exposure to moisture or extreme temperatures. Ensure there is enough space for the fan, ductwork, and any maintenance access you may need in the future.
Step 3: Measure and Mark
Using a measuring tape, measure the dimensions of the fan and the area where it will be installed. Mark the mounting points on the wall or surface where the fan will be attached. Ensure the marks are level and aligned properly.
Step 4: Install Mounting Brackets
If your fan comes with mounting brackets, install them according to the manufacturer's instructions. Use a level to ensure they are straight. If brackets are not provided, you may need to create a custom mounting solution using wood or metal supports.
Step 5: Position the Fan
Carefully lift the cabinet centrifugal fan into position, aligning it with the marked mounting points. Ensure the fan is securely attached to the brackets or supports. It’s helpful to have a second person assist with holding the fan in place during this step.
Step 6: Secure the Fan
Once the fan is in position, use screws or bolts to secure it firmly to the mounting brackets. Ensure that all fasteners are tightened properly to avoid any vibrations or movement during operation.
Step 7: Connect the Ductwork
If your fan is part of a ducted system, connect the ductwork to the fan's inlet and outlet. Use duct tape to seal any joints and prevent air leaks. Make sure the ductwork is properly aligned and secured to maintain airflow efficiency.
Step 8: Electrical Connections
Now it’s time to connect the electrical wiring. Refer to the fan's installation manual for specific wiring instructions. Typically, you will need to connect the fan to a power source using appropriate electrical connectors. Ensure that all connections are secure and insulated to prevent short circuits.
Step 9: Test the Installation
Before fully powering up the fan, double-check all connections and ensure everything is securely fastened. Turn on the power supply and test the fan to ensure it operates correctly. Listen for any unusual noises that may indicate a problem, such as misalignment or loose components.
Step 10: Adjust the Fan Speed (if applicable)
Some cabinet centrifugal fans come with adjustable speed settings. If your fan has this feature, set the speed according to your ventilation needs. Follow the manufacturer's instructions for adjusting the settings.
Step 11: Monitor Performance
After installation, monitor the fan’s performance over the next few days. Check for any unusual vibrations, noises, or air leaks in the ductwork. Make adjustments as necessary to ensure optimal operation.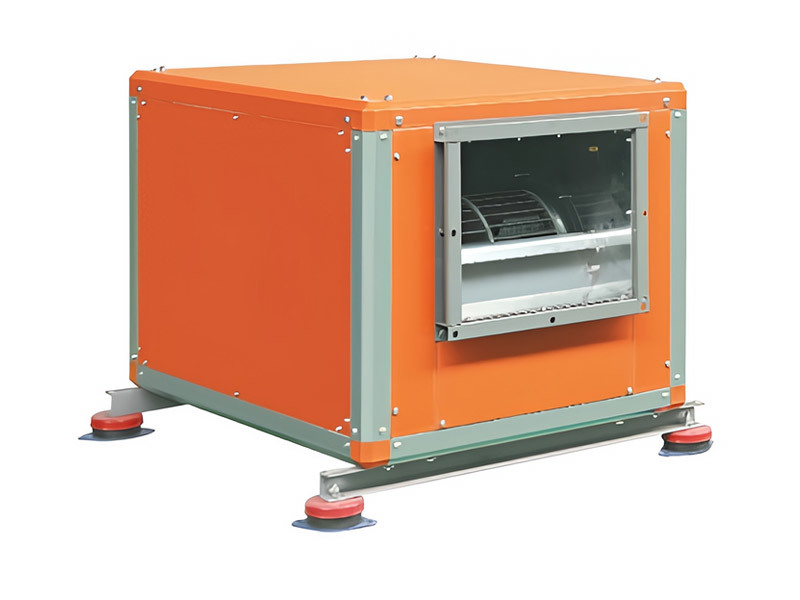
Conclusion
Installing a cabinet centrifugal fan can significantly improve air circulation and ventilation in your space. By following this step-by-step guide, you can ensure a successful installation that meets your needs. Always refer to the manufacturer's instructions for specific details related to your fan model, and don’t hesitate to consult a professional if you encounter any challenges during the process. With the right approach and careful attention to detail, you can enjoy the benefits of improved airflow and comfort in your environment.
Tag:
Recommend News


Address: Road 3, Ji'ao Industrial Zone, Xinqiao Town, Luqiao District, Taizhou City, Zhejiang Province (Shanghai Qiba Fan Factory)

Online Message
Filling in your phone and E-mail information will help us to get in touch with you in time and solve your problems as soon as possible.